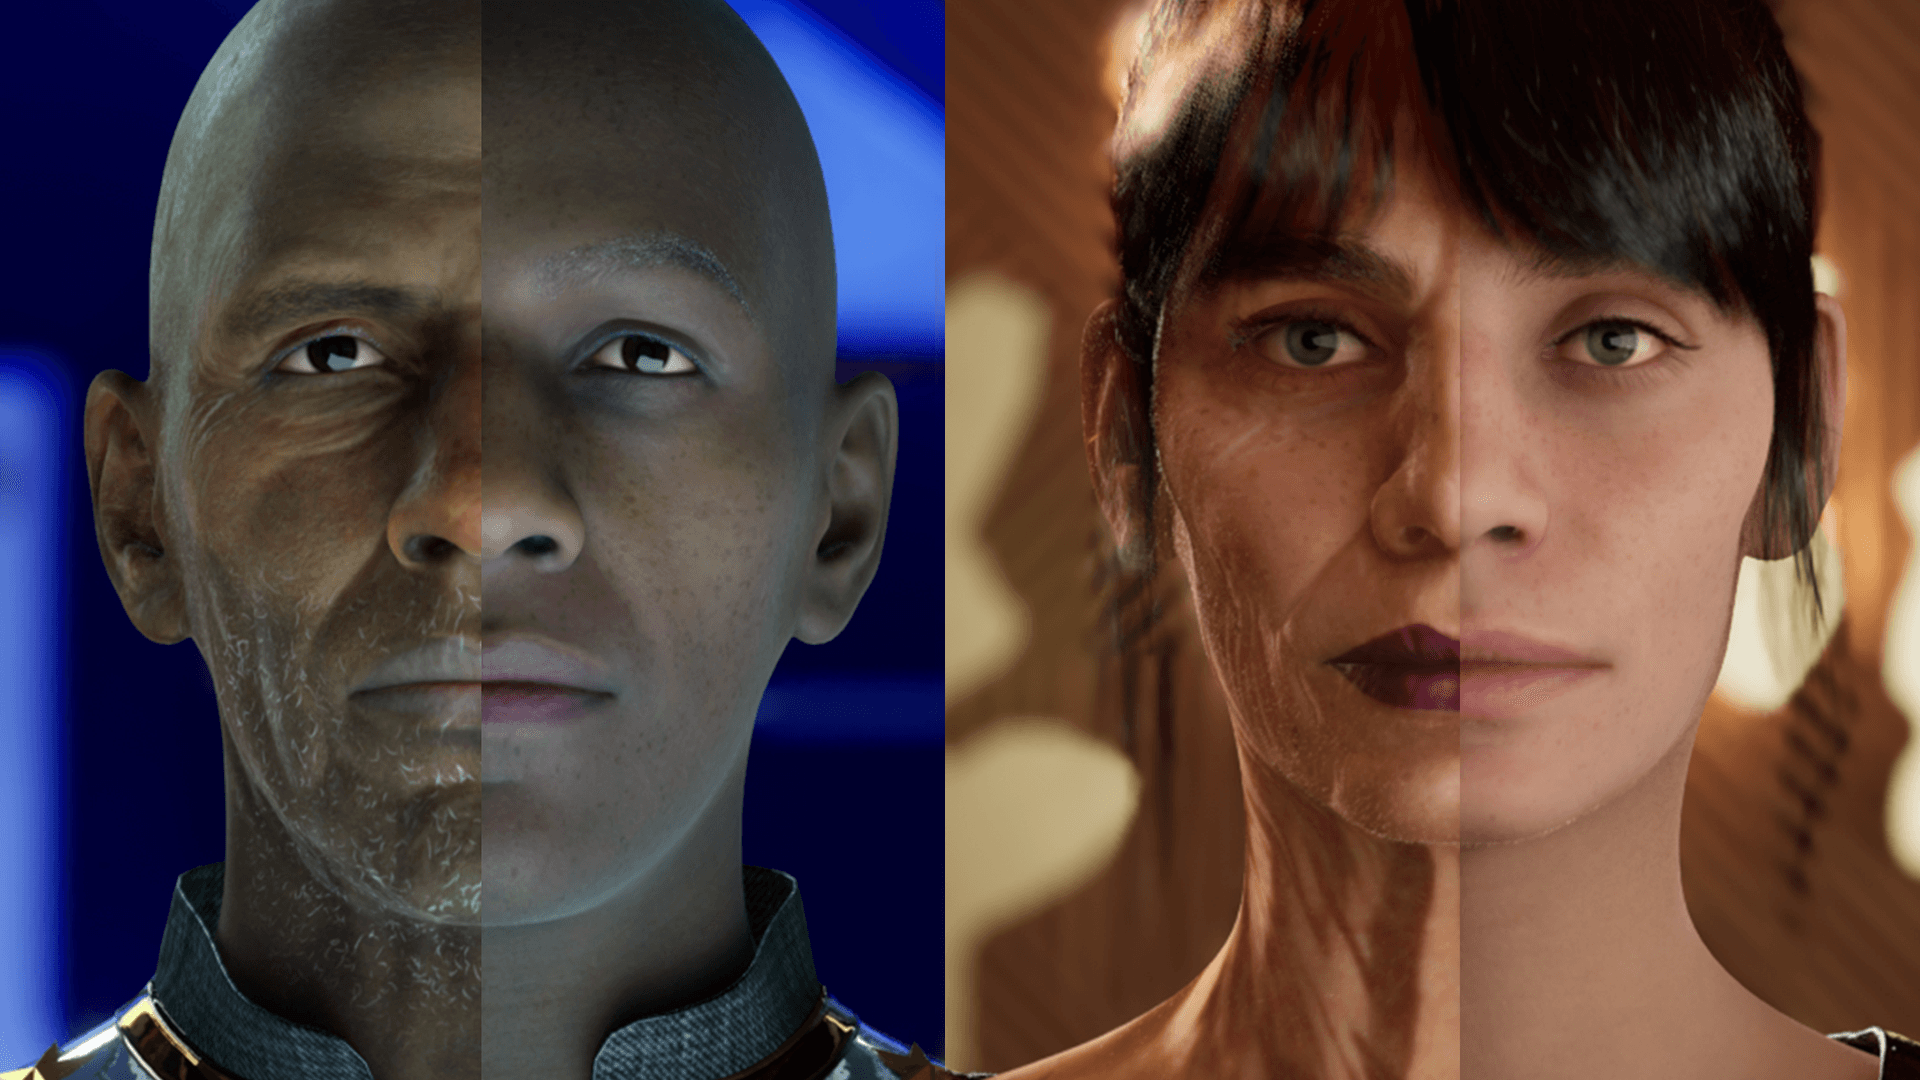
Unlocking the Potential of MetaHuman Customization
MetaHuman Creator gives you a photorealistic starting point — a human face with well-defined topology, production-ready rigging, and full Lumen compatibility out of the box. What it does not give you is a character that belongs to your project. That requires customization, and MetaHuman customization is its own discipline.
The first layer is materials. MetaHuman uses a layered material system built around a Master Material that handles skin shading, subsurface scattering, and micro-detail normals. Customization starts by creating child material instances — adjusting skin tone, age-related roughness variations, and lip saturation within the parameters exposed by the master. For deeper control, Substance 3D Painter is the right tool: baking cavity and curvature maps from the MetaHuman mesh, painting custom texture layers, and exporting into the MetaHuman material pipeline.
Geometry customization uses two paths. Minor proportional changes — jawline width, nose bridge height, eye spacing — are handled inside MetaHuman Creator via the web interface, which maps adjustments to morph targets under the hood. For character-specific shapes that the Creator cannot produce, morph target editing in ZBrush or Maya is required. The workflow: export the base mesh, sculpt the delta in the DCC, re-import as a morph target, and bind it to the existing control rig.
Hair is handled by Groom Assets — a strand-based hair system that renders with Unreal's Strands hair shader. The MetaHuman hair library provides a solid starting point, but the real control comes from Houdini or XGen: generating custom groom assets, defining strand counts, interpolation guides, and width profiles. Once imported into Unreal, hair materials expose parameters for melanin density, redness, roughness, and anisotropy — giving full control over color and sheen without re-exporting geometry.
Garments in MetaHuman are Chaos Cloth simulated meshes. The panel-based garment workflow starts in Marvelous Designer: pattern pieces are sewn together around a neutral MetaHuman pose, simulated to a rest state, then exported as a static mesh. In Unreal, a Chaos Cloth asset wraps the mesh and defines material properties per-panel — tension, bend stiffness, damping. The result is a garment that responds correctly to the MetaHuman animation rig without interpenetration artifacts.
Performance is the final discipline. A production MetaHuman with full-quality hair, cloth simulation, and facial animation can be expensive. The optimization stack starts with LOD groups — automatically generated, but worth fine-tuning per use case. Hair switches from strand rendering to cards at LOD1. Cloth simulation disables at LOD2. The face rig reduces bone count at distance. Baking key expressions as morph targets and disabling the full Control Rig can cut runtime cost by over 60% for non-hero characters.
MetaHuman customization is a pipeline, not a single tool. Understanding each layer — materials, geometry, hair, cloth, performance — and where it connects to the broader production workflow is what separates a MetaHuman that ships from one that stays in pre-production.